
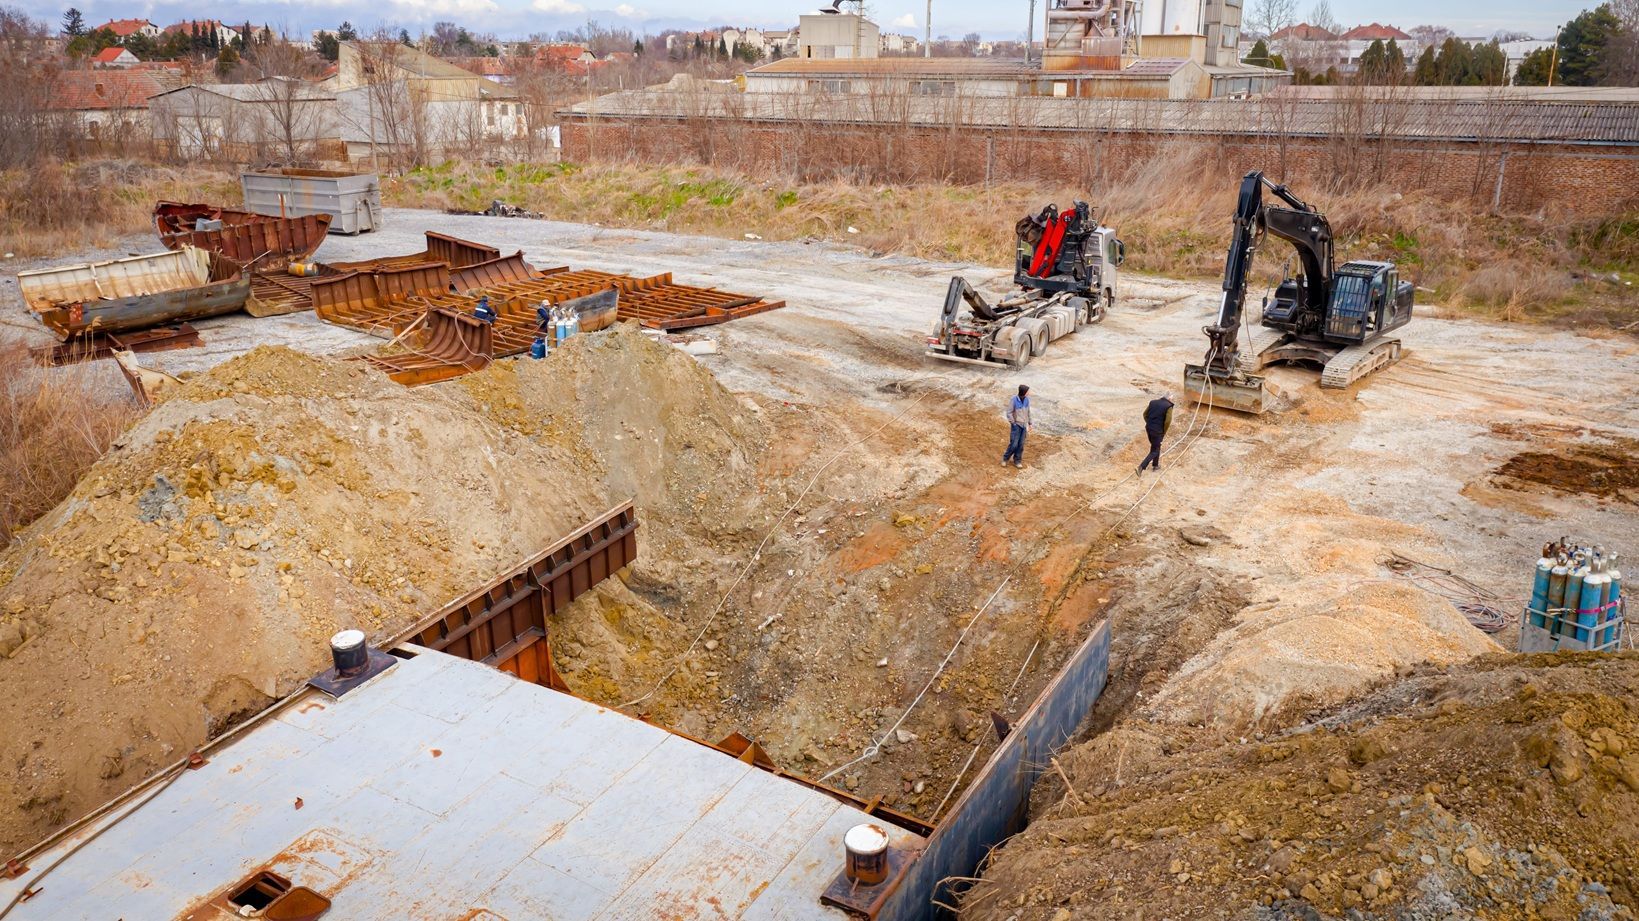
What to Know Before Excavating a Building Site
A culvert is not simply a pipe placed beneath a driveway.
It is one part of a larger drainage system that may include roadside ditches, driveway grade, uphill runoff, inlet conditions, outlet protection, surrounding slopes, and the final path water follows across the property.
When these parts are planned together, a culvert can help preserve access and move water beneath the driveway without damaging the gravel, shoulders, or surrounding ground.
When they are not coordinated, the result may include:
Standing water
Driveway washouts
Gravel loss
Sediment buildup
Culvert overflow
Eroded outlets
Soft shoulders
Pipe damage
Water crossing the driveway
Repeated repair work
The correct solution begins with understanding where the water comes from and where it can safely go.

You’ve chosen a terrific way of integrating images and text into your website. Move the image anywhere you want in this container and the text will automatically wrap around it. You can display events team members new products and more easily and creatively. To start add an image from the Image Picker and edit it as you would edit any image in the system. For example you can link the image to existing pages in your site a website URL a popup or an anchor. After you’ve chosen the image add your text. You can add text that describes the image you’ve selected or simply use the image for decorative purposes. \nYou’ve chosen a terrific way of integrating images and text into your website. Move the image anywhere you want in this container and the text will automatically wrap around it. You can display events team members new products more easily and creatively. To start add an image from the Image Picker and edit it as you would edit any image in the system. For example you can link the image to existing pages in your site a website URL a popup or an anchor. After you’ve chosen the image add your text. You can add text that describes the image you’ve selected or simply use the image for decorative purposes.
Good Excavation Starts Before the First Bucket of Dirt Moves
Excavating a building site is not simply a matter of digging until the ground looks level.
The excavation plan affects foundation depth, building elevation, drainage, driveway access, utility routes, material handling, slope stability, and the amount of fill or soil that may need to be moved on or off the property.
A well-planned excavation project should answer several questions before work begins:
- Where will the building sit?
- What elevation should the finished floor reach?
- How will equipment access the site?
- Where will water move after the ground is reshaped?
- Which material can remain on the property?
- Will fill need to be imported?
- Where will utilities and septic systems go?
- What work should happen before grading and compaction?
The clearer these answers are, the easier it is to reduce delays, unnecessary hauling, and rework.
Confirm the Building Location
The proposed building location should be identified as clearly as possible before excavation begins.
Helpful information may include:
- Building plans
- A site plan
- A survey
- Marked corners
- Foundation dimensions
- Setbacks
- Proposed finished-floor elevation
- Septic layout
- Utility information
- Driveway location
- Drainage requirements
Moving a building footprint even a short distance can change:
- The amount of cut and fill
- Driveway slope
- Drainage direction
- Foundation depth
- Utility length
- Retaining needs
- Soil conditions
- Tree removal
- Equipment access
Excavation should support the actual construction plan rather than a rough guess about where the structure may go.
Understand the Final Building Elevation
One of the most important site decisions is how high or low the building should sit relative to the surrounding land.
The finished elevation affects:
- Water flow around the structure
- Foundation excavation
- Pad height
- Driveway connection
- Garage entrances
- Walkways
- Septic and utility routes
- Fill requirements
- Slope transitions
- Final grading
A building set too low may collect runoff or require extensive drainage correction.
A building set too high may need excessive fill, steep driveway approaches, long slopes, or retaining structures.
The excavation plan should connect the building elevation to the surrounding property instead of treating the structure as an isolated platform.
Evaluate Access Before Heavy Equipment Arrives
Excavators, dozers, dump trucks, concrete trucks, delivery vehicles, and trailers all need room to enter, turn, stage, and leave.
Before excavation begins, consider:
- Entrance width
- Road visibility
- Turning radius
- Overhead utilities
- Low branches
- Gate openings
- Culvert condition
- Soft ground
- Steep grades
- Tight corners
- Bridge or crossing limitations
- Neighboring property
- Truck turnaround space
- Material stockpile areas
A site may require initial clearing, culvert work, gravel, or a temporary construction entrance before larger equipment can reach the building area.
Poor access can slow the project and increase damage to the property.
Review Soil and Ground Conditions
Not all soil provides the same support.
A building site may contain:
- Topsoil
- Clay
- Loose fill
- Organic material
- Rock
- Wet soil
- Soft pockets
- Buried debris
- Old foundations
- Stumps and roots
- Previously disturbed ground
- Compacted native soil
Topsoil and organic material generally should not remain beneath structural areas because they can compress or break down over time.
Soft or unsuitable material may need to be removed and replaced.
Rock can affect digging time, equipment needs, trenching, drainage, and foundation preparation.
Visible conditions provide useful information, but some problems may not be discovered until excavation opens the ground.
Know the Difference Between Cut and Fill
Many building sites require both cutting and filling.
Cut
A cut removes soil from higher ground to lower the site or create the required building elevation.
Fill
Fill raises lower ground using suitable material placed and compacted in controlled layers.
The goal is often to balance material across the site when practical.
However, not all excavated material is suitable for structural fill.
Material may be too wet, too organic, mixed with debris, or otherwise unable to provide dependable support.
The excavation plan should consider:
- How much material will be cut
- Where fill is needed
- Whether onsite soil is suitable
- Whether material must be imported
- Whether excess material must be hauled away
- Where temporary stockpiles can be placed
- How fill will be compacted
Cut-and-fill decisions affect cost, schedule, drainage, and the final shape of the property.
Plan Drainage Before Reshaping the Site
Excavation changes where water travels.
A cut can intercept runoff. A fill slope can redirect water. A building pad can block existing drainage. A driveway can act like a dam if culverts and ditches are not planned.
Before excavation, review:
- Natural drainage paths
- Low areas
- Existing ditches
- Culverts
- Springs or seepage
- Runoff from neighboring property
- Water moving toward the building site
- Driveway drainage
- Roof-water discharge areas
- Pond or creek overflow routes
- Erosion-prone slopes
- Outlet locations
Possible drainage work may include:
- Swales
- Ditches
- Culverts
- Drainage pipe
- Catch basins
- Foundation drains
- Surface grading
- Outlet protection
- Retention areas
- Slope stabilization
Drainage is usually easier to plan before the foundation, driveway, concrete, and landscaping are complete.
Identify Utilities Before Digging
Underground and overhead utilities can affect access, excavation depth, trench routes, and equipment movement.
The project should account for:
- Electrical service
- Water lines
- Sewer
- Septic systems
- Gas
- Communication lines
- Well lines
- Existing drainage pipe
- Irrigation
- Overhead lines
- Utility easements
Existing utilities should be located before excavation begins.
Future utility routes should also be considered so finished pads, driveways, and graded areas do not need to be reopened later.
Utility planning may affect where material can be stockpiled and which areas should remain accessible during construction.
Coordinate Foundation Excavation With the Building Plan
Foundation requirements vary by structure.
A project may involve:
- Slab-on-grade construction
- Footings
- Crawl space
- Basement
- Retaining walls
- Pier foundations
- Post-frame construction
- Metal-building slabs
- Commercial foundations
Each foundation type creates different excavation, backfill, drainage, and access requirements.
The contractor should have the necessary dimensions, elevations, and structural information before precision excavation begins.
The excavation should also leave enough working room for:
- Formwork
- Waterproofing
- Foundation drains
- Inspections
- Utility entries
- Backfill
- Concrete access
Digging only to the exact finished foundation line may not provide enough room for the construction process.
Plan the Building Pad Properly
A building pad is more than a visibly flat area.
Pad preparation may involve:
- Removing vegetation and topsoil
- Excavating unsuitable material
- Establishing the correct elevation
- Balancing cut and fill
- Importing suitable fill
- Placing material in lifts
- Moisture control
- Compaction
- Base stabilization
- Subgrade preparation
- Drainage planning
- Final shaping
The pad should be large enough to support the structure and the surrounding work area.
Depending on the site, it may also need room for:
- Foundation access
- Concrete trucks
- Equipment movement
- Drainage swales
- Fill slopes
- Cut slopes
- Retaining walls
- Material staging
Simply spreading fill and driving over it does not create a properly prepared structural pad.
Decide Where Excavated Material Will Go
Excavation creates material that must be managed.
Possible options include:
- Reusing suitable soil as fill
- Stockpiling material temporarily
- Spreading excess soil in approved areas
- Using material for slope transitions
- Hauling unsuitable soil away
- Importing better fill
- Separating rock or debris
- Saving topsoil for final grading
Poor material planning can block access, create double handling, and increase hauling costs.
The property should have defined areas for:
- Soil stockpiles
- Topsoil
- Rock
- Debris
- Imported fill
- Equipment staging
- Truck loading
Material should not be placed where it interferes with drainage, utilities, septic areas, driveways, or later construction phases.
Account for Backfill and Compaction
After foundation, utility, or drainage work is complete, excavated areas may need to be backfilled.
Backfill should be placed and compacted according to the intended use of the area.
Areas supporting driveways, slabs, pads, parking surfaces, or future structures typically need more careful preparation than landscape areas.
Poor backfill can lead to:
- Settlement
- Low spots
- Cracked surfaces
- Ruts
- Water collection
- Trench depressions
- Unstable shoulders
Compaction is not a single final pass. Structural fill may need to be placed in controlled layers so each section receives adequate support.
Consider Weather and Ground Moisture
Excavation conditions can change quickly after heavy rain.
Wet soil may become:
- Difficult to move
- Difficult to compact
- Unstable under equipment
- Prone to rutting
- More likely to track mud onto roads
- Vulnerable to erosion
- Unsafe on slopes
Dry conditions may create dust and hard ground.
The excavation schedule should account for:
- Recent rainfall
- Forecasted weather
- Soil type
- Site drainage
- Access conditions
- Erosion risk
- Material moisture
- Open excavation protection
Temporary drainage and stabilization may be needed when the site will remain open for an extended period.
Protect Areas That Should Remain Undisturbed
Construction activity can spread beyond the actual excavation area if work zones are not defined.
Areas that may need protection include:
- Mature trees
- Septic fields
- Wells
- Property boundaries
- Neighboring land
- Existing driveways
- Landscaping
- Streams
- Ponds
- Utilities
- Finished surfaces
- Preserved natural areas
Clearly identifying these zones before work begins helps reduce unnecessary damage.
Equipment routes and material stockpiles should be planned around them.
Complete the Work in the Right Sequence
A typical building-site sequence may look like this:
1. Confirm the Site Plan
Identify the building, driveway, utilities, septic, drainage, and areas to preserve.
2. Establish Access
Prepare the entrance and equipment route.
3. Clear the Work Area
Remove vegetation, stumps, roots, and obstructions from structural and traffic areas.
4. Strip Unsuitable Surface Material
Remove topsoil and organic material from the building and pad areas.
5. Complete Major Cut-and-Fill Work
Shape the site and establish rough elevations.
6. Address Drainage
Install or prepare ditches, swales, culverts, outlets, and other drainage features.
7. Prepare the Pad
Place and compact suitable material to the required elevation.
8. Complete Foundation Excavation
Excavate according to the building plans.
9. Install Underground Systems
Complete utilities, septic, drainage, and foundation-related underground work.
10. Backfill and Rough Grade
Restore excavated areas and shape the surrounding site.
11. Complete Driveways and Final Grading
Finish access, surfaces, drainage transitions, and stabilization after heavy construction activity is complete.
The exact sequence depends on the project, but the goal is to avoid damaging finished work.
Common Building-Site Excavation Mistakes
Excavating Before the Plans Are Final
Changes to the building location or elevation can create expensive rework.
Ignoring Drainage Until Later
Water problems become harder to correct after foundations, concrete, and driveways are installed.
Building Over Topsoil or Organic Material
Unsuitable material beneath structural areas can contribute to settlement.
Using Unsuitable Soil as Fill
Not all excavated soil provides dependable structural support.
Failing to Plan Truck Access
Equipment and material deliveries may be delayed by narrow, soft, or steep entrances.
Underestimating Material Handling
Excess soil, rock, debris, and imported fill all require space and planning.
Completing Final Grade Too Early
Utilities, foundation work, concrete, and deliveries can disturb finished surfaces.
Forgetting Temporary Erosion Control
Open soil can wash away during heavy rain.
Stockpiling Material in the Wrong Area
Poorly placed piles can block drainage, utilities, access, or future work.
Information to Gather Before Requesting an Estimate
Useful project information may include:
- Property address
- Site plan
- Building plans
- Survey
- Proposed building dimensions
- Foundation type
- Finished-floor elevation
- Driveway location
- Septic layout
- Utility information
- Known drainage concerns
- Photos
- Construction schedule
- Builder or general contractor information
- Areas that should be preserved
The project does not need to be completely finalized before the first discussion, but accurate information supports a more useful site review.
Related Service Direction
Excavation & Site Prep
Complete earthmoving, cut-and-fill work, foundation excavation, material removal, backfill, and construction-site preparation.
Land Clearing
Remove vegetation, stumps, roots, debris, and obstructions before excavation begins.
Building Pads & Concrete Prep
Prepare stable elevations, suitable fill, subgrades, base materials, and compacted areas for future construction.
Grading & Leveling
Shape surrounding slopes, improve drainage, smooth the site, and prepare final surfaces.
Gravel Driveways
Create construction access and long-term property access with drainage, base preparation, gravel, grading, and compaction.
Drainage, Culverts & Stormwater
Plan runoff, culverts, ditches, swales, drainage pipe, outlets, and water movement around the building site.
Trenching, Septic & Utilities
Prepare routes for underground systems before final grading and finished surfaces are completed.
Hauling & Materials
Remove excess soil, rock, debris, and unsuitable material while delivering fill, gravel, base stone, and other project materials.
Related Project Direction
Building a Shop, House, Garage, Barn, or Metal Building
See how clearing, excavation, drainage, access, pad preparation, utilities, hauling, and final grading connect into a complete building-site project.
Full Project Management
Explore a coordinated approach for sites that require several phases of dirt work before construction begins.
Fixing Drainage & Water Problems
Learn how excavation, grading, culverts, ditches, swales, and erosion control can work together to manage water.
Keep Reading
Excavation vs. Grading: What Is the Difference?
Learn when a project needs major earthmoving and when surface shaping may be enough.
How Cut and Fill Affects Site Preparation
Understand how moving material across a property affects cost, drainage, hauling, and finished elevations.
Why Excavation and Drainage Should Be Planned Together
See how cuts, fills, slopes, trenches, and building elevations affect water movement.
Preparing a Site for Construction?
W Brown Construction LLC can help review the building location, access, soil conditions, drainage, excavation, cut-and-fill needs, building-pad preparation, utility routes, hauling, and the order in which the site work should happen.