
Why Excavation and Drainage Should Be Planned Together

A culvert is not simply a pipe placed beneath a driveway.

It is one part of a larger drainage system that may include roadside ditches, driveway grade, uphill runoff, inlet conditions, outlet protection, surrounding slopes, and the final path water follows across the property.

When these parts are planned together, a culvert can help preserve access and move water beneath the driveway without damaging the gravel, shoulders, or surrounding ground.

When they are not coordinated, the result may include:

Standing water

Driveway washouts

Gravel loss

Sediment buildup

Culvert overflow

Eroded outlets

Soft shoulders

Pipe damage

Water crossing the driveway

Repeated repair work

The correct solution begins with understanding where the water comes from and where it can safely go.


Keep Reading


What Makes a Gravel Driveway Last?

Learn how subgrade, base, drainage, material, grading, and compaction affect driveway performance.


Why Gravel Driveways Wash Out

See how runoff, failed ditches, lost crown, soft base, and poor outlets cause repeated gravel loss.


When a Gravel Driveway Needs Rebuilding

Learn when routine grading and fresh stone are no longer enough to correct deeper driveway failure.

You’ve chosen a terrific way of integrating images and text into your website. Move the image anywhere you want in this container and the text will automatically wrap around it. You can display events team members new products and more easily and creatively. To start add an image from the Image Picker and edit it as you would edit any image in the system. For example you can link the image to existing pages in your site a website URL a popup or an anchor. After you’ve chosen the image add your text. You can add text that describes the image you’ve selected or simply use the image for decorative purposes. \nYou’ve chosen a terrific way of integrating images and text into your website. Move the image anywhere you want in this container and the text will automatically wrap around it. You can display events team members new products more easily and creatively. To start add an image from the Image Picker and edit it as you would edit any image in the system. For example you can link the image to existing pages in your site a website URL a popup or an anchor. After you’ve chosen the image add your text. You can add text that describes the image you’ve selected or simply use the image for decorative purposes.
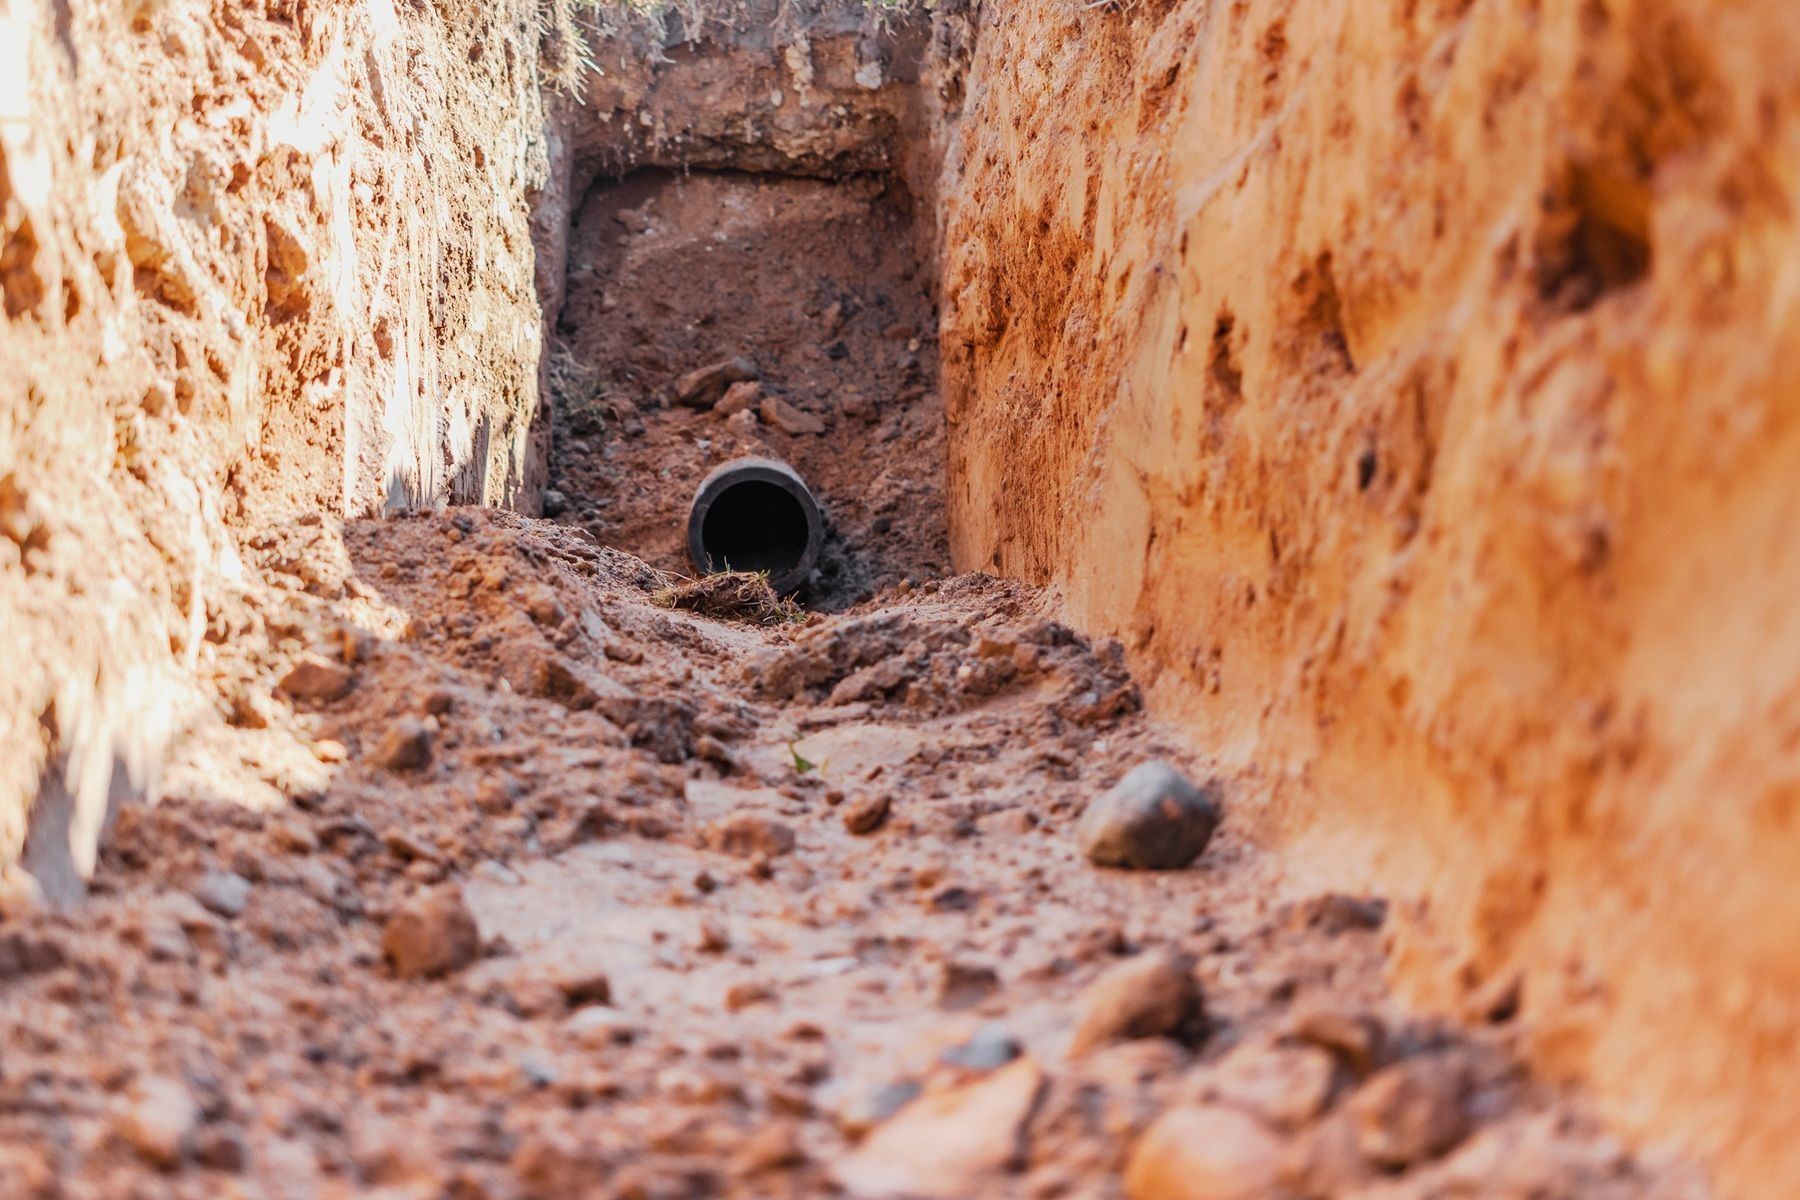
Excavation Changes How Water Moves Across the Property


Every excavation project changes the land.


Removing soil creates lower areas. Placing fill creates higher areas. Cutting into a slope can intercept runoff. Building a pad can block an existing drainage path. A driveway can redirect water if culverts, ditches, and outlets are not planned correctly.


That is why excavation and drainage should not be treated as separate decisions.


A site may look dry during the first walkthrough but behave very differently during heavy rain. Once the ground is reshaped, water may collect in new areas, move faster down slopes, cross driveways, soften fill, erode shoulders, or travel toward a future structure.


Planning drainage before and during excavation helps the property support the work that comes next.

Water Follows the New Grade


Water naturally moves from higher ground toward lower ground.


Excavation changes those elevations.


A cut may create a low area where runoff collects. A fill slope may send water toward a road, building, neighboring property, or drainage outlet. A level pad may interrupt the natural path water previously followed across the site.


The excavation plan should account for:


  • Existing high and low areas
  • Natural runoff paths
  • Water entering from neighboring property
  • Roadside drainage
  • Creek or pond overflow
  • Existing ditches
  • Culverts
  • Springs or seepage
  • Roof-water discharge
  • Future driveway drainage
  • Safe outlet locations


The goal is not simply to make the ground level. The goal is to create elevations that support the project while still allowing water to leave the site in a controlled way.

Excavation Can Expose Hidden Drainage Problems


Before clearing and excavation, vegetation may hide how water moves across the property.


Once the site opens up, contractors may discover:


  • Saturated soil
  • Buried drainage channels
  • Old culverts
  • Failed pipe
  • Eroded slopes
  • Soft low areas
  • Sediment-filled ditches
  • Underground seepage
  • Water trapped behind old fill
  • Runoff crossing the future building site
  • Driveway washouts
  • Pond overflow paths


These conditions may not be obvious during dry weather.


Excavation can reveal them, but it can also make them worse if the work continues without adjusting the plan.


The site should be reviewed as conditions become visible rather than assuming the original surface tells the entire story.

Building Pads Need Positive Drainage


A building pad should support the structure and direct water away from it.


Excavation and fill work establish the pad elevation. Drainage planning determines how the surrounding grade transitions away from the building.


Important considerations include:


  • Finished-floor elevation
  • Pad height
  • Surrounding natural grade
  • Cut slopes
  • Fill slopes
  • Garage entrances
  • Driveway connection
  • Downspout outlets
  • Foundation drainage
  • Swales
  • Retaining areas
  • Nearby low ground


A pad that is structurally prepared but poorly drained may still develop serious problems.


Water collecting near a structure can contribute to:


  • Saturated soil
  • Mud
  • Erosion
  • Foundation concerns
  • Wet crawl spaces
  • Basement water
  • Soft driveway approaches
  • Landscape damage
  • Settlement around utility trenches


The building elevation, excavation plan, and final drainage should be developed together.

Cut Slopes Can Collect Water


Cutting into higher ground creates a slope above the work area.


Runoff from the upper property may travel down that slope and collect at the bottom.


Without a plan, water may move toward:


  • Building pads
  • Foundations
  • Driveways
  • Parking areas
  • Retaining walls
  • Utility trenches
  • Finished lawns


A cut slope may need:


  • A diversion swale
  • A ditch
  • Slope shaping
  • Erosion protection
  • Drainage pipe
  • A catch basin
  • A controlled outlet
  • Retaining-wall drainage
  • Additional setback


The correct solution depends on slope, soil, rainfall, available space, and where the water can safely discharge.

Fill Slopes Need Drainage and Stabilization


Fill raises part of the site and creates a new slope back to the natural ground.


Water flowing over a fill slope can cause:


  • Surface erosion
  • Rills
  • Washouts
  • Settlement
  • Material movement
  • Sediment buildup
  • Damage near the bottom of the slope


A fill slope may require:


  • Proper compaction
  • Controlled slope angle
  • Surface grading
  • Diversion of upstream water
  • Seeding or stabilization
  • Erosion-control blankets
  • Riprap
  • Outlet protection
  • Toe drainage
  • Retaining systems


Drainage should not be allowed to concentrate onto an unprotected fill slope.


The excavation plan should identify where water will cross, bypass, or leave the newly shaped area.

Driveways Can Act Like Drainage Channels


A driveway often becomes one of the main water-flow paths on a property.


When the driveway follows a slope, runoff may travel directly down the surface.


When it crosses a natural drainage area, the driveway can block water and create ponding unless a culvert or crossing is installed.


Excavation and drainage planning should consider:


  • Driveway slope
  • Crown or cross slope
  • Roadside ditches
  • Culvert location
  • Culvert elevation
  • Inlet conditions
  • Outlet protection
  • Turnouts
  • Low points
  • Steep sections
  • Shoulder stability
  • Water from the public road


Without proper drainage, gravel may wash away, potholes may return, soft areas may develop, and culverts may overflow.


A stronger driveway begins with the route, subgrade, drainage, base, and surface working together.

Culverts Must Match the Site


Culverts allow water to pass beneath a driveway, road, or access route.


Their effectiveness depends on more than placing a pipe in the ground.


The project should consider:


  • Where water enters
  • How much runoff reaches the crossing
  • Pipe size
  • Pipe slope
  • Inlet elevation
  • Outlet elevation
  • Cover depth
  • Bedding
  • Compaction
  • Headwalls or end treatment
  • Erosion at the outlet
  • Debris and sediment
  • Roadway or permitting requirements


A culvert installed too high may prevent water from entering.


A culvert installed too low may collect sediment.


An outlet without protection may create erosion.


Because culverts affect both access and drainage, they should be coordinated with excavation, driveway elevation, ditches, and final grade.

Utility Trenches Can Become Water Paths


Trenching disturbs the ground and creates a route through soil that may behave differently from the surrounding area.


Poorly planned or compacted trenches can:


  • Settle
  • Collect water
  • Carry water toward structures
  • Create low areas
  • Damage driveways
  • Soften finished surfaces
  • Contribute to erosion


Drainage, septic, water, electrical, and communication trenches should be coordinated with the site grade.


Important questions include:


  • Does the trench cross a driveway?
  • Is it uphill from the building?
  • How will backfill be compacted?
  • Will water enter the trench?
  • Does the route interfere with a swale or culvert?
  • Should drainage pipe be installed nearby?
  • Will the final surface need restoration?


Utility work should not unintentionally create a hidden drainage channel.

Excavation Around Ponds and Basins Requires Water Planning


Ponds, retention areas, drainage basins, and spillways are excavation projects built specifically around water.


Their success depends on:


  • Inflow
  • Storage capacity
  • Outlet elevation
  • Spillway location
  • Bank slope
  • Soil conditions
  • Erosion protection
  • Overflow route
  • Sediment
  • Access for maintenance


Excavation can increase storage or improve shape, but the surrounding drainage system determines how the feature performs.


A pond or basin should not be viewed independently from ditches, culverts, slopes, driveways, and upstream runoff.


Water must have a controlled way to enter, remain, and leave.

Drainage Should Be Planned Before Permanent Surfaces


Permanent improvements make drainage corrections more difficult.


Before installing:


  • Concrete
  • Asphalt
  • Final gravel
  • Landscaping
  • Finished lawns
  • Retaining walls
  • Parking surfaces
  • Building pads
  • Permanent structures


the project should confirm:


  • Where water enters
  • Which direction it travels
  • Where it should discharge
  • Whether the outlet is protected
  • Whether the grade has enough fall
  • Whether ditches and culverts are working
  • Whether low areas remain
  • Whether fill needs more compaction
  • Whether slopes need stabilization


Correcting drainage early usually causes less disruption than cutting through completed surfaces later.

Drainage Features Must Have a Safe Outlet


Moving water away from one area is only part of the solution.


The water must have somewhere safe to go.


A drainage outlet may discharge into:


  • A ditch
  • A swale
  • A basin
  • A pond
  • A natural drainage channel
  • A stabilized area
  • An approved stormwater system


An outlet that sends concentrated runoff onto bare soil may create a new washout.


An outlet that stops before reaching lower ground may create standing water.


An outlet near a property boundary may affect neighboring land.


Drainage planning should account for the entire path—not only the point where a pipe or ditch begins.

Erosion Control Protects Newly Excavated Ground


Freshly disturbed soil is vulnerable to heavy rain.


Excavation can expose large areas before final construction or landscaping is complete.


Temporary and permanent erosion-control measures may include:


  • Seeding
  • Straw
  • Mulch
  • Erosion-control blankets
  • Silt fence
  • Check dams
  • Riprap
  • Diversion swales
  • Outlet protection
  • Sediment basins
  • Stabilized entrances
  • Temporary drainage


The right measures depend on site slope, soil, project duration, runoff, and weather.


Waiting until erosion begins can make repairs more difficult and increase sediment movement across the property.

Compaction and Drainage Affect Each Other


Fill material performs differently when it becomes saturated.


Poor drainage can soften soil, reduce support, and contribute to settlement or rutting.


Poor compaction can allow water to enter voids and low areas.


Structural areas such as:


  • Building pads
  • Driveways
  • Roads
  • Parking areas
  • Utility trenches
  • Slab bases


Need both suitable material and controlled water movement.


A compacted pad in a low area may still fail to perform if runoff continually reaches it.


Drainage and compaction should support each other.

Weather Conditions Matter During Excavation


A site that excavates well during dry weather may become difficult after heavy rain.


Wet conditions can lead to:


  • Soft access
  • Mud
  • Rutting
  • Unstable slopes
  • Saturated fill
  • Poor compaction
  • Erosion
  • Sediment movement
  • Standing water in cuts
  • Delayed construction


Temporary drainage may be needed during the project.


That can include:


  • Temporary ditches
  • Pumps
  • Diversion berms
  • Stabilized access
  • Covered stockpiles
  • Sump areas
  • Temporary pipe
  • Erosion-control measures


Planning for weather helps protect the work between phases.

A Typical Excavation and Drainage Sequence


The exact process depends on the property, but a coordinated site may follow this general sequence:


1. Review the Final Site Plan

Identify buildings, driveways, pads, utilities, parking, ponds, and finished elevations.


2. Study Existing Water Flow

Locate low areas, runoff paths, ditches, culverts, seepage, erosion, and outlets.


3. Establish Access

Prepare a route that supports equipment and material delivery without blocking drainage.


4. Complete Major Cuts and Fills

Shape the primary elevations while protecting known water paths.


5. Install Major Drainage Features

Place culverts, pipe, basins, swales, ditches, or outlets that must be completed before later phases.


6. Prepare Pads and Traffic Areas

Build and compact the required elevations while maintaining positive drainage.


7. Complete Utility and Foundation Work

Coordinate underground systems with the drainage plan.


8. Refine the Grade

Shape slopes, driveways, shoulders, ditches, and surface drainage.


9. Protect Outlets and Slopes

Install stabilization and erosion-control measures.


10. Finish the Site

Complete final grading, cleanup, surface preparation, and long-term drainage transitions.


This sequence helps reduce damage to completed work.

Common Mistakes When Excavation and Drainage Are Planned Separately


Leveling the Site Without a Water Plan

A flat-looking site may still collect water.


Setting the Building Too Low

Runoff may move toward the foundation or pad.


Raising the Pad Without Planning the Slopes

Fill slopes may become too steep or direct water toward other improvements.


Installing a Driveway Without Culverts or Ditches

The driveway may block natural runoff or become the drainage channel.


Sending Water to an Unprotected Outlet

Concentrated runoff can create erosion and washouts.


Completing Final Grade Before Utility Work

Trenching can disturb drainage paths and finished surfaces.


Ignoring Water From Neighboring Property

Runoff may enter the site from outside the construction area.


Treating Wet Soil as Only a Soil Problem

Soft ground may be caused by uncontrolled water.


Waiting Until the End to Address Erosion

Newly disturbed slopes may fail before permanent stabilization is installed.

Questions to Ask Before Excavation Begins


Property owners and builders should ask:


  • Where does water currently travel?
  • Where will it go after excavation?
  • Is the building elevation high enough?
  • Will cut slopes collect runoff?
  • Will fill slopes need stabilization?
  • Does the driveway cross a drainage path?
  • Are culverts needed?
  • Where will roof water discharge?
  • Are utilities crossing drainage areas?
  • Does the site have a safe outlet?
  • Are there soft or wet areas?
  • What temporary drainage is needed during construction?
  • What erosion control is required?
  • When should final grading happen?


These questions help connect the visible dirt work to the long-term performance of the property.

Related Service Direction


Excavation & Site Prep

Shape the site, create cuts and fills, prepare foundations, open trenches, and establish major elevations.


Drainage, Culverts & Stormwater

Install and improve culverts, ditches, swales, drainage pipe, basins, outlets, and runoff-control systems.


Grading & Leveling

Refine elevations, establish surface drainage, correct low areas, and shape finished slopes.


Building Pads & Concrete Prep

Prepare stable elevations and positive drainage around future structures, slabs, and commercial pads.


Gravel Driveways

Coordinate driveway routes, culverts, ditches, crown, base preparation, gravel, and compaction.


Erosion Control & Retaining Walls

Protect slopes, drainage outlets, banks, fill areas, and exposed soil from washouts and movement.

Related Project Direction


Fixing Drainage & Water Problems

See how excavation, grading, culverts, ditches, swales, drainage pipe, and erosion control can work together.


Building a Shop, House, Garage, Barn, or Metal Building

Learn how building elevation, access, excavation, drainage, utilities, and pad preparation connect before construction.


Full Project Management

Explore a coordinated site-work plan for properties that require several excavation, drainage, access, grading, and construction-preparation phases.

Keep Reading


Excavation vs. Grading: What Is the Difference?

Understand when a project needs major earthmoving and when surface shaping may be enough.


What to Know Before Excavating a Building Site

Review access, soil, elevations, utilities, material handling, and compaction before digging begins.


How Cut and Fill Affects Site Preparation

Learn how moving soil affects building elevations, driveways, slopes, drainage, hauling, and site stability.

Planning Earthwork on a Property With Drainage Concerns?


W Brown Construction LLC can help review the site elevations, water flow, excavation, cut-and-fill needs, driveway drainage, culverts, building-pad preparation, grading, and erosion-control requirements.