
What Comes After Land Clearing?
A culvert is not simply a pipe placed beneath a driveway.
It is one part of a larger drainage system that may include roadside ditches, driveway grade, uphill runoff, inlet conditions, outlet protection, surrounding slopes, and the final path water follows across the property.
When these parts are planned together, a culvert can help preserve access and move water beneath the driveway without damaging the gravel, shoulders, or surrounding ground.
When they are not coordinated, the result may include:
Standing water
Driveway washouts
Gravel loss
Sediment buildup
Culvert overflow
Eroded outlets
Soft shoulders
Pipe damage
Water crossing the driveway
Repeated repair work
The correct solution begins with understanding where the water comes from and where it can safely go.

You’ve chosen a terrific way of integrating images and text into your website. Move the image anywhere you want in this container and the text will automatically wrap around it. You can display events team members new products and more easily and creatively. To start add an image from the Image Picker and edit it as you would edit any image in the system. For example you can link the image to existing pages in your site a website URL a popup or an anchor. After you’ve chosen the image add your text. You can add text that describes the image you’ve selected or simply use the image for decorative purposes. \nYou’ve chosen a terrific way of integrating images and text into your website. Move the image anywhere you want in this container and the text will automatically wrap around it. You can display events team members new products more easily and creatively. To start add an image from the Image Picker and edit it as you would edit any image in the system. For example you can link the image to existing pages in your site a website URL a popup or an anchor. After you’ve chosen the image add your text. You can add text that describes the image you’ve selected or simply use the image for decorative purposes.
Clearing the Land Reveals the Real Property
Land clearing can create a dramatic change. Thick brush disappears, access improves, and the property begins to feel larger and more usable.
But clearing is often only the first phase.
Once trees, brush, vines, debris, and undergrowth are removed, the actual condition of the ground becomes easier to see. That is when property owners may discover uneven elevations, stumps, root systems, soft soil, standing water, buried material, erosion, rough access, or slopes that need to be reshaped.
What happens next depends on how the land will be used.
A recreational property may need only cleanup and selective grading. A future building site may require excavation, drainage, driveway access, a compacted building pad, utility trenching, and final stabilization.
The important step is to evaluate the exposed site before rushing into the next phase.
Start by Reviewing the Cleared Property
The first step after clearing should be a complete review of the site.
Look at:
- Ground elevations
- Remaining stumps and roots
- Soft or wet areas
- Existing drainage paths
- Low spots
- Steep slopes
- Exposed rock
- Buried debris
- Old foundations or fencing
- Equipment access
- Driveway placement
- Future building locations
- Utility routes
- Areas that should remain undisturbed
The cleared property may look open, but that does not automatically mean it is ready for construction, traffic, landscaping, farming, or long-term use.
This review helps determine which services are necessary and which work can wait.
Remove Remaining Stumps, Roots, and Organic Material
Clearing methods do not always remove everything below the surface.
Stumps and root systems may remain after trees and brush are cut. That may be acceptable in natural or lightly used areas, but it can create problems beneath structural surfaces.
Complete removal may be needed under:
- Building pads
- Foundations
- Driveways
- Private roads
- Parking areas
- Concrete slabs
- Utility routes
- Septic systems
- Drainage pipes
- Finished lawns
Organic material can decay over time. If it remains beneath compacted fill or a structural surface, the ground may settle and create low spots, cracking, rutting, or instability.
The required level of removal should be based on what that section of the property must support.
Handle Debris Before It Interferes With Later Work
Land clearing can produce large amounts of material.
Common materials include:
- Trees
- Limbs
- Brush
- Stumps
- Roots
- Old fencing
- Concrete
- Tires
- Scrap material
- Construction debris
- Abandoned structures
- Excess soil
Material left in the work area can interfere with grading, excavation, drainage, utility trenching, and construction access.
The cleanup plan may involve:
- Consolidating material
- Separating debris by type
- Loading and hauling
- Removing buried material
- Clearing staging areas
- Preparing access for trucks
- Filling holes after stump removal
- Rough grading disturbed areas
Completing debris removal early creates a cleaner and more efficient worksite for the phases that follow.
Complete Rough Excavation Where Needed
Some properties need more than surface cleanup after clearing.
Excavation may be required to:
- Remove unsuitable soil
- Cut down high areas
- Fill low areas
- Balance material across the site
- Open foundation areas
- Create driveway routes
- Prepare utility trenches
- Shape drainage channels
- Excavate ponds or basins
- Remove buried debris
- Prepare building elevations
Excavation creates the major shape of the property.
It should be based on the final project plan rather than completed as an isolated step. The amount of material removed, moved, or imported affects drainage, slopes, hauling, compaction, and final grade.
Establish Driveway and Equipment Access
Clearing opens the property, but equipment and delivery vehicles still need dependable access.
A future driveway or construction entrance may require:
- Additional route clearing
- Excavation
- Soft-soil removal
- Culvert installation
- Ditch work
- Base material
- Gravel placement
- Grading
- Compaction
- Turnaround areas
- Widened entrances
Access should be planned before heavy construction begins.
A route that works during dry weather may fail under loaded dump trucks, concrete trucks, trailers, or repeated construction traffic.
Planning the driveway early can also help determine where materials will be delivered, where equipment will stage, and how the finished property will function.
Correct Drainage Before Installing Permanent Improvements
Clearing often exposes how water actually moves across the land.
Common conditions revealed after clearing include:
- Standing water
- Low areas
- Blocked ditches
- Failed culverts
- Natural drainage channels
- Runoff from neighboring land
- Eroded slopes
- Wet soil
- Water moving toward a future structure
- Poor driveway drainage
- Pond overflow paths
Drainage should usually be addressed before installing permanent driveways, slabs, building pads, parking areas, or landscaping.
Possible drainage work may include:
- Swales
- Ditches
- Culverts
- Drainage pipe
- Catch basins
- French drains
- Surface grading
- Outlet protection
- Retention areas
- Erosion repair
- Slope reshaping
Ignoring water until later can lead to washed-out gravel, soft pads, standing water, erosion, and rework.
Grade and Level the Property
Once major excavation and drainage work are complete, grading begins shaping the site for its intended use.
Grading may involve:
- Rough grading
- Finish grading
- Slope correction
- Filling low areas
- Smoothing ruts
- Establishing drainage
- Preparing lawns
- Shaping driveways
- Preparing parking areas
- Creating usable acreage
- Blending cuts and fills
- Preparing building-pad elevations
Rough grading establishes the larger form of the site.
Finish grading creates smoother, more precise surfaces near buildings, lawns, driveways, parking areas, and finished improvements.
The right timing matters. Final grading should not be completed before underground utilities, major drainage work, or heavy construction traffic are finished.
Prepare the Building Pad
When the cleared property will support a house, shop, garage, barn, metal building, or commercial structure, the building pad becomes one of the most important phases.
Pad preparation may include:
- Removing organic material
- Excavating unsuitable soil
- Establishing elevation
- Cut-and-fill balancing
- Importing structural fill
- Placing fill in controlled lifts
- Compaction
- Base stabilization
- Subgrade preparation
- Drainage planning
- Foundation backfill
- Concrete base preparation
A pad must be planned around the building design, foundation type, surrounding grade, drainage, driveway elevation, and utility routes.
Simply leveling an area does not necessarily create a construction-ready pad.
Install Underground Utilities Before Final Surfaces
Utility and septic work should be coordinated before the site receives its final grade or finished surfaces.
Underground work may include:
- Electrical lines
- Water lines
- Sewer lines
- Septic tanks
- Drain fields
- Gas lines
- Communication lines
- Drainage pipe
- Well lines
- Downspout drainage
- Foundation drains
Trenching after the driveway, pad, lawn, or finished grade is complete can disturb work that has already been installed.
Utility routes should be planned alongside the building, driveway, drainage, and septic layout whenever possible.
Backfill and compaction also matter. Poor trench backfill can settle and leave depressions across driveways, yards, or construction areas.
Build or Improve the Driveway
Once the route, drainage, and subgrade are established, the driveway can move into base and surface preparation.
A gravel driveway may require:
- Subgrade correction
- Soft-area repair
- Base stone
- Drainage
- Culverts
- Crown or cross slope
- Shoulder preparation
- Gravel placement
- Grading
- Compaction
A driveway should support both immediate construction traffic and long-term property use.
The best time to install the final surface depends on the construction schedule. Heavy trucks and equipment may damage a fully finished driveway, so some projects use a temporary construction surface before the final material is placed.
Stabilize Exposed Soil
Clearing removes vegetation that previously helped protect the soil.
Without stabilization, exposed areas may develop:
- Sheet erosion
- Rills
- Washouts
- Mud
- Sediment movement
- Slope failure
- Drainage blockage
- Soil loss near driveways or buildings
- Stabilization may include:
- Seeding
- Straw
- Erosion-control blankets
- Silt fence
- Riprap
- Gravel
- Mulch
- Outlet protection
- Temporary drainage
- Final grading
- Slope shaping
The correct method depends on slope, soil, runoff, weather, construction timing, and the final use of the property.
Temporary protection may be needed when construction will continue for an extended period.
Deliver and Place Needed Materials
Many post-clearing projects require imported material.
Common materials include:
- Fill dirt
- Structural fill
- Base stone
- Gravel
- Topsoil
- Sand
- Riprap
- Drainage stone
- Crushed material
The type and quantity depend on the project.
Material placement should be coordinated with access, drainage, excavation, and compaction. Delivering material too early can block work areas or create unnecessary double handling.
Excess soil, rock, roots, stumps, or unsuitable material may also need to be hauled away.
Complete Final Grading and Cleanup
Final grading should happen after the major underground, structural, drainage, and access work is complete.
This phase may include:
- Smoothing disturbed areas
- Blending slopes
- Establishing final drainage
- Preparing lawns
- Shaping shoulders
- Cleaning ditches
- Spreading topsoil
- Removing construction debris
- Repairing equipment ruts
- Restoring access
- Stabilizing exposed ground
The goal is to leave the property ready for its next use.
That may mean construction-ready, landscape-ready, farm-ready, accessible, or simply cleaner and easier to maintain.
The Right Sequence Depends on the Project
Not every property follows the same exact order, but a larger site-preparation project may look like this:
1. Confirm the Final Property Plan
Identify buildings, driveways, utilities, drainage, septic, parking, ponds, and areas to preserve.
2. Complete Land Clearing
Remove the vegetation and obstructions included in the scope.
3. Remove Stumps and Debris
Prepare structural, access, and finished areas for earthwork.
4. Establish Construction Access
Create a route for equipment, trucks, and material delivery.
5. Complete Major Excavation
Shape elevations, cuts, fills, foundations, trenches, and drainage areas.
6. Address Water Flow
Install culverts, ditches, swales, pipe, outlets, and other drainage features.
7. Prepare Building Pads and Bases
Place, grade, and compact structural materials.
8. Install Underground Utilities
Complete septic, water, power, communications, and drainage trenching.
9. Complete Driveways and Traffic Areas
Prepare bases, place material, shape surfaces, and compact.
10. Finish Grade and Stabilize
Complete cleanup, drainage transitions, erosion control, and final surface preparation.
The exact sequence should protect completed work and reduce unnecessary rework.
Common Mistakes After Land Clearing
Waiting Too Long to Stabilize the Site
Exposed soil can erode quickly during heavy rain.
Installing Gravel Before Correcting Drainage
Water can wash away newly placed material.
Building a Pad Over Organic Material
Stumps, roots, and topsoil can affect long-term stability.
Completing Final Grade Before Utility Work
Trenching may disturb finished surfaces.
Ignoring Soft or Wet Areas
Placing gravel or fill over unstable soil may not solve the underlying problem.
Leaving Debris in Future Structural Areas
Buried material can interfere with compaction and settlement.
Treating Every Cleared Area the Same
A natural area, driveway, building pad, lawn, and parking surface each require different preparation.
Skipping the Full Project Plan
One phase can create problems for the next when access, drainage, utilities, and final elevations are not coordinated.
How to Decide Which Work Is Necessary
Ask what the cleared property needs to support.
For a Future Building
Focus on access, excavation, drainage, pad preparation, utilities, and final grade.
For a Driveway or Private Road
Focus on route preparation, subgrade, drainage, culverts, base material, gravel, and compaction.
For Recreational Land
Selective grading, trail access, drainage cleanup, and debris removal may be enough.
For Farming or Rural Use
The property may need field access, clearing, drainage, erosion repair, pond work, fencing access, or building areas.
For Commercial Development
Expect more extensive planning around excavation, parking, pads, drainage, utilities, traffic, and material movement.
For General Property Cleanup
Debris hauling, rough grading, drainage improvement, and stabilization may be the primary next steps.
The project goal should determine the level of preparation.
Related Service Direction
Excavation & Site Prep
Remove unsuitable material, shape the site, create cuts and fills, and prepare the property for construction.
Grading & Leveling
Establish slopes, improve drainage, smooth disturbed ground, and prepare usable surfaces.
Building Pads & Concrete Prep
Prepare stable, compacted areas for homes, shops, garages, barns, metal buildings, slabs, and commercial structures.
Gravel Driveways
Create dependable access with excavation, drainage, base preparation, gravel placement, grading, and compaction.
Drainage, Culverts & Stormwater
Correct runoff, standing water, ditches, swales, culverts, washouts, and poor water movement.
Trenching, Septic & Utilities
Prepare underground routes before final surfaces and finished grades are completed.
Hauling & Materials
Remove debris and unsuitable material while delivering gravel, fill, base stone, topsoil, and other project materials.
Related Project Direction
Building a Shop, House, Garage, Barn, or Metal Building
See how clearing connects with access, excavation, drainage, utilities, pad preparation, and final site work.
Full Project Management
Explore how multiple phases of dirt work can be organized into one complete property-preparation plan.
Fixing Drainage & Water Problems
Learn how grading, culverts, ditches, swales, excavation, and erosion control can work together to manage water.
Cleaning Up Overgrown or Unusable Land
See how clearing, debris removal, access, grading, drainage, and hauling can transform neglected property.
Keep Reading
What to Know Before Clearing Overgrown Land
Review property boundaries, access, debris, drainage, stumps, hauling, and the final use of the property.
Land Clearing Before Building a House, Shop, or Barn
Learn how to coordinate clearing with access, drainage, excavation, utilities, and pad preparation.
Land Clearing vs. Forestry Mulching
Compare clearing methods and understand which areas may require complete stump and root removal.
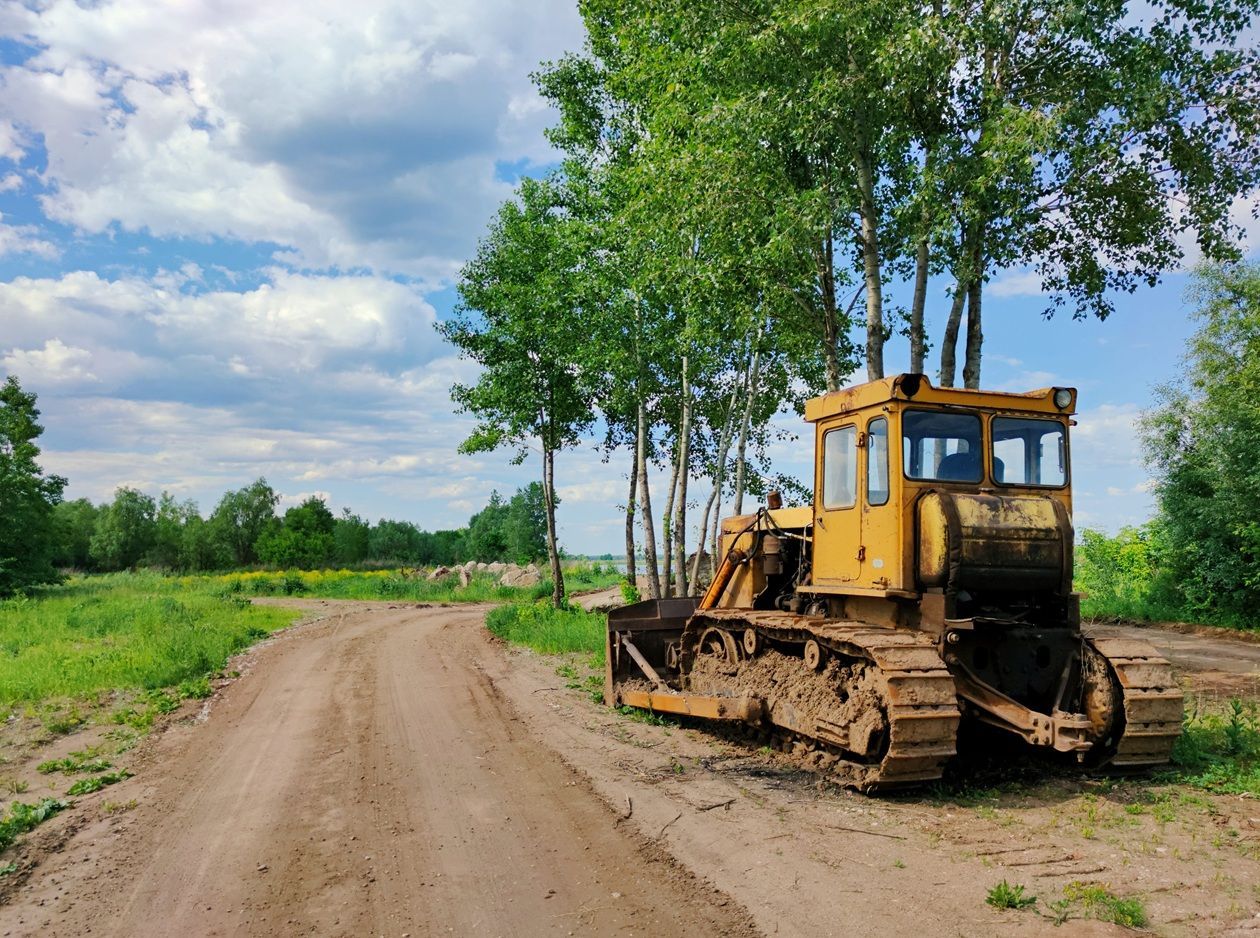
Need Help Planning the Next Phase?
W Brown Construction LLC can review the cleared property and help determine whether the next step involves debris hauling, excavation, grading, drainage, driveway construction, building-pad preparation, trenching, erosion control, or complete site preparation.